The MadCatz TE2 ushered in a new size in Fightsticks, designed to accomodate and store additional parts, and intentional ease of accessibility for cosmetic and technical mods. The first generation of the TE2 used a unique beveled edge control panel plexi. MadCatz followed up with a Generation 2 control panel, a much thinner plexi designed to make artwork install easier than the previous model. The layout featured larger button holes which actually surrounded the button, instead of fitting beneath the rim.
Plexworks will offer both generations as Generation 1 1/16" Adjusted and Generation 2 1/40". To note, you can use either generation of plexi in available TE2 models. I'll explain the differences as they apply to the service.
Generation 2 1/40"
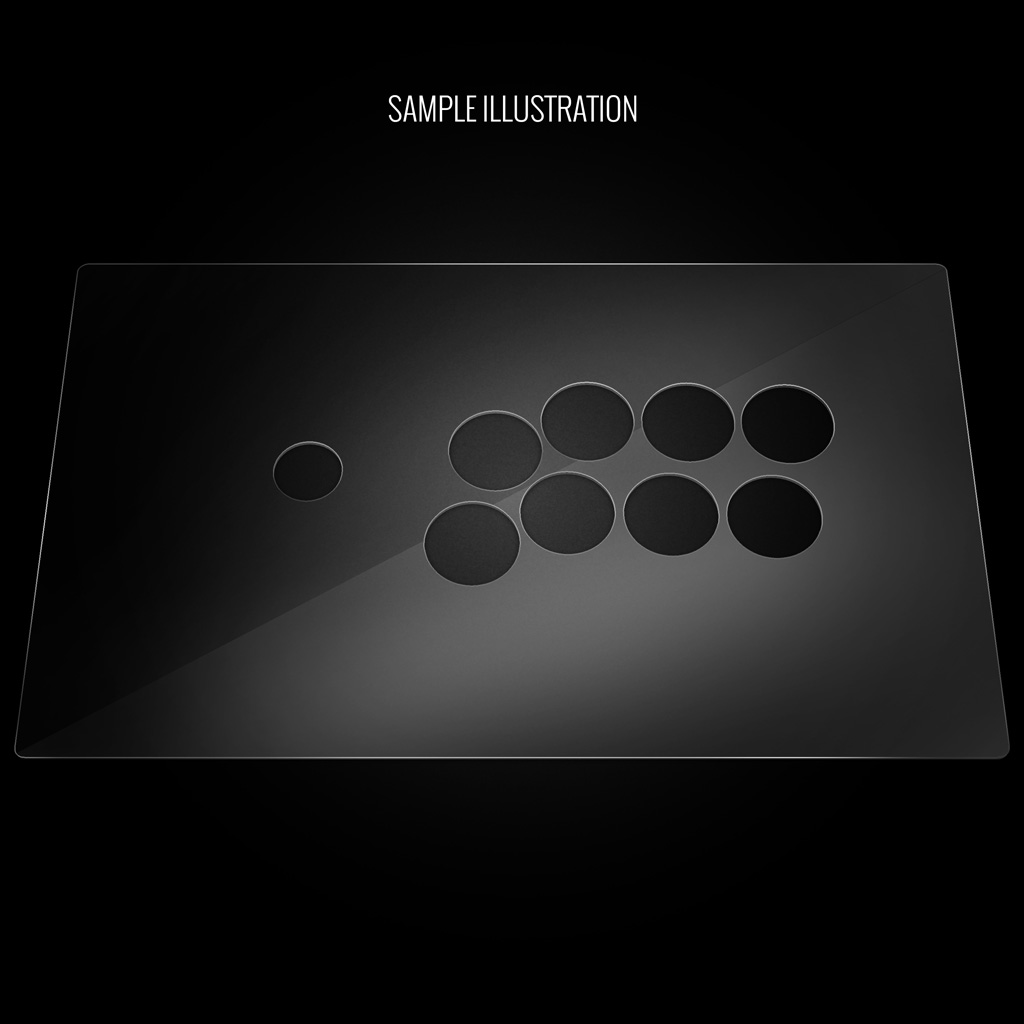
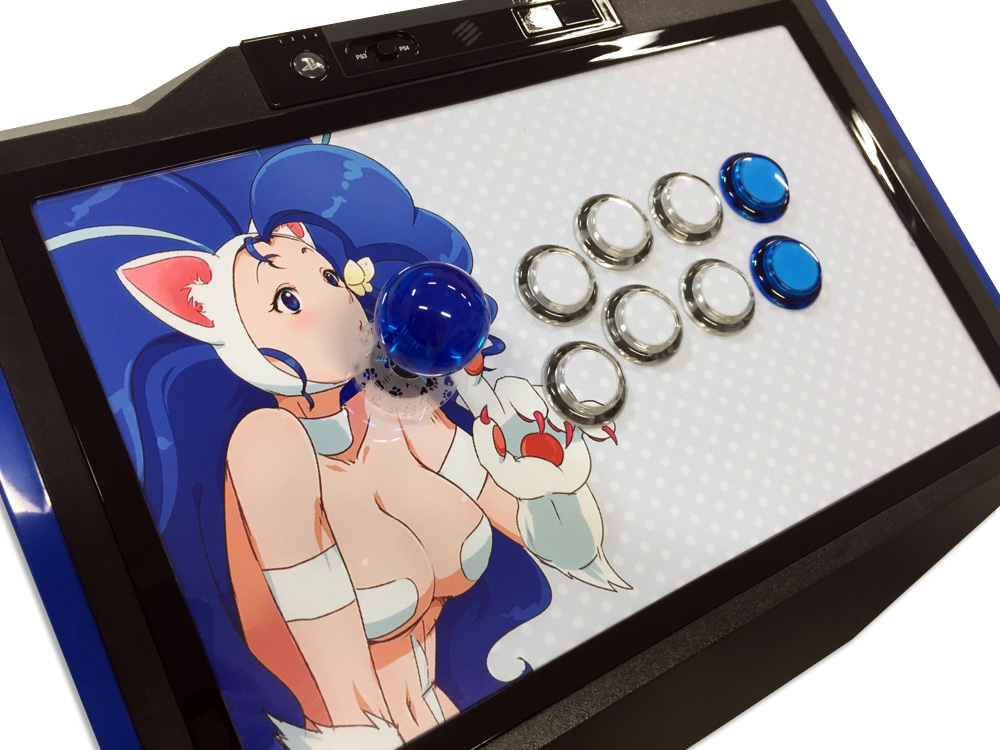
We'll start with Gen 2 first because the latest model - the T.E.2+ with Street Fighter V artwork - uses this layout directly. The T.E.2+ model looks like this:
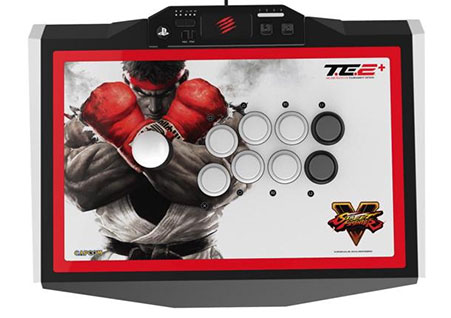
First generation MadCatz T.E.2 Fightsticks utilized a bevel-edge panel that allowed it to fit flush with the panel border. Later generation models like the T.E.2+ redesigned the panel to fit around pushbuttons, instead of the traditional placement under the buttons. This way, you do not have to remove the buttons before applying the plexi or artwork. This unique design uses our 1/40" PETG plastic film. While we can cut to shape, currently cannot etch onto this film (that is partly why we offer Gen 1 and Gen 2, which we explain further in the article.)
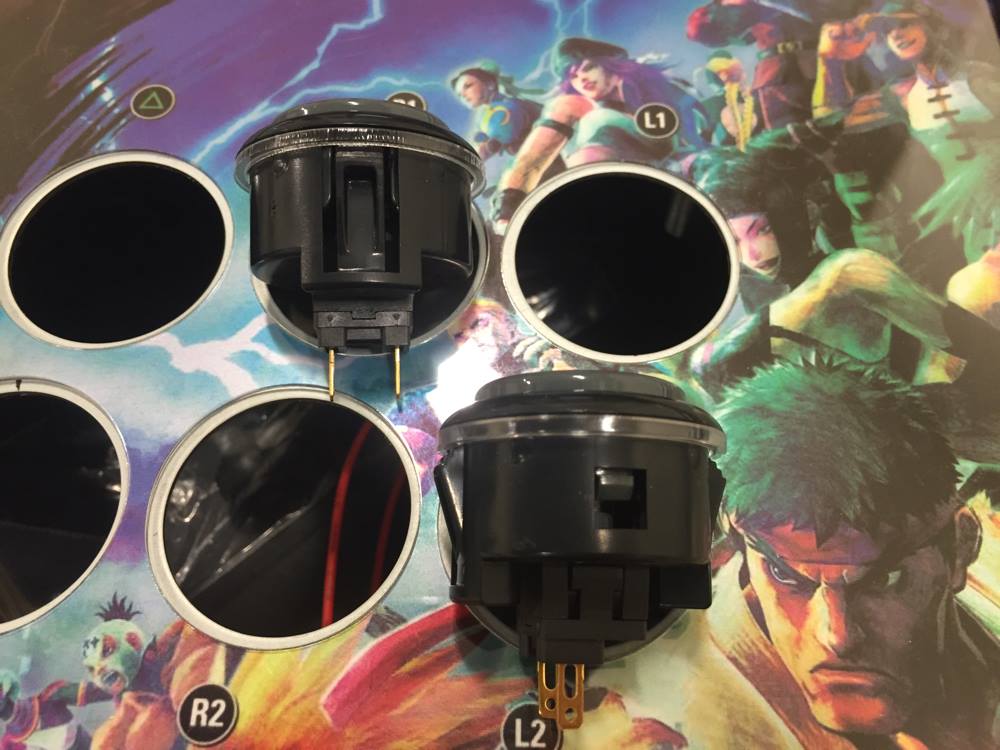
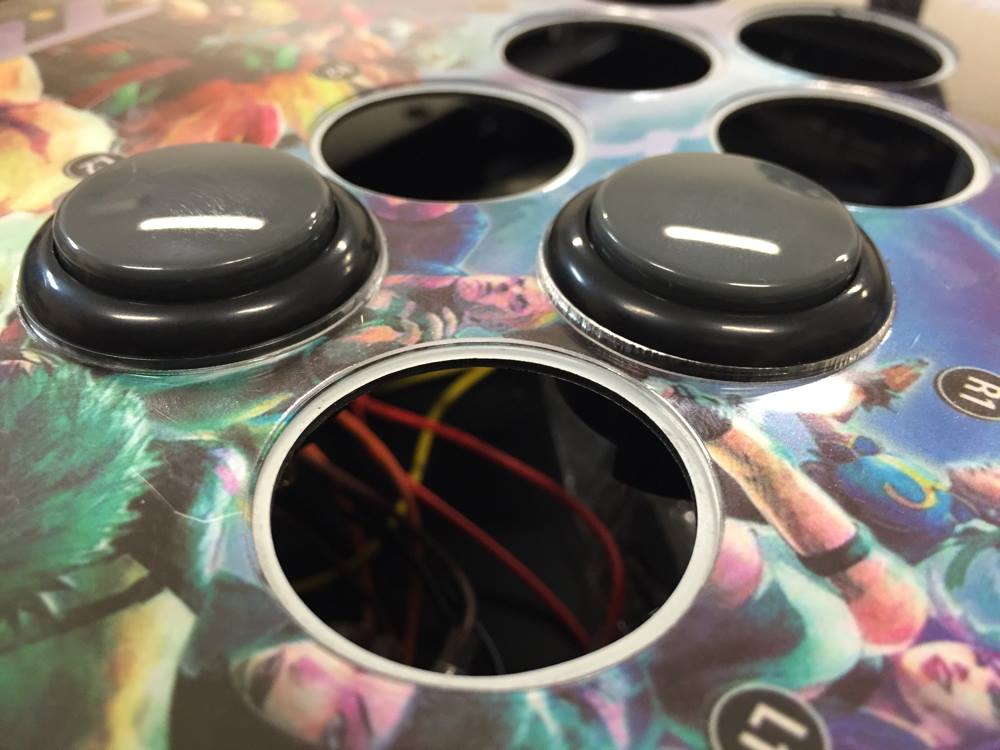
Because the plexi surrounds the button, the pushbutton does not have the usual spacing below the button rim to prop it up. If you own the newer model TE2, such as the T.E.2+, you already have these spacers. If you are switching from an older TE2 to the newer model, or don't have these spacers, you can purchase a pack of 8 spacers from our store.
Generation 1 1/16" Adjusted
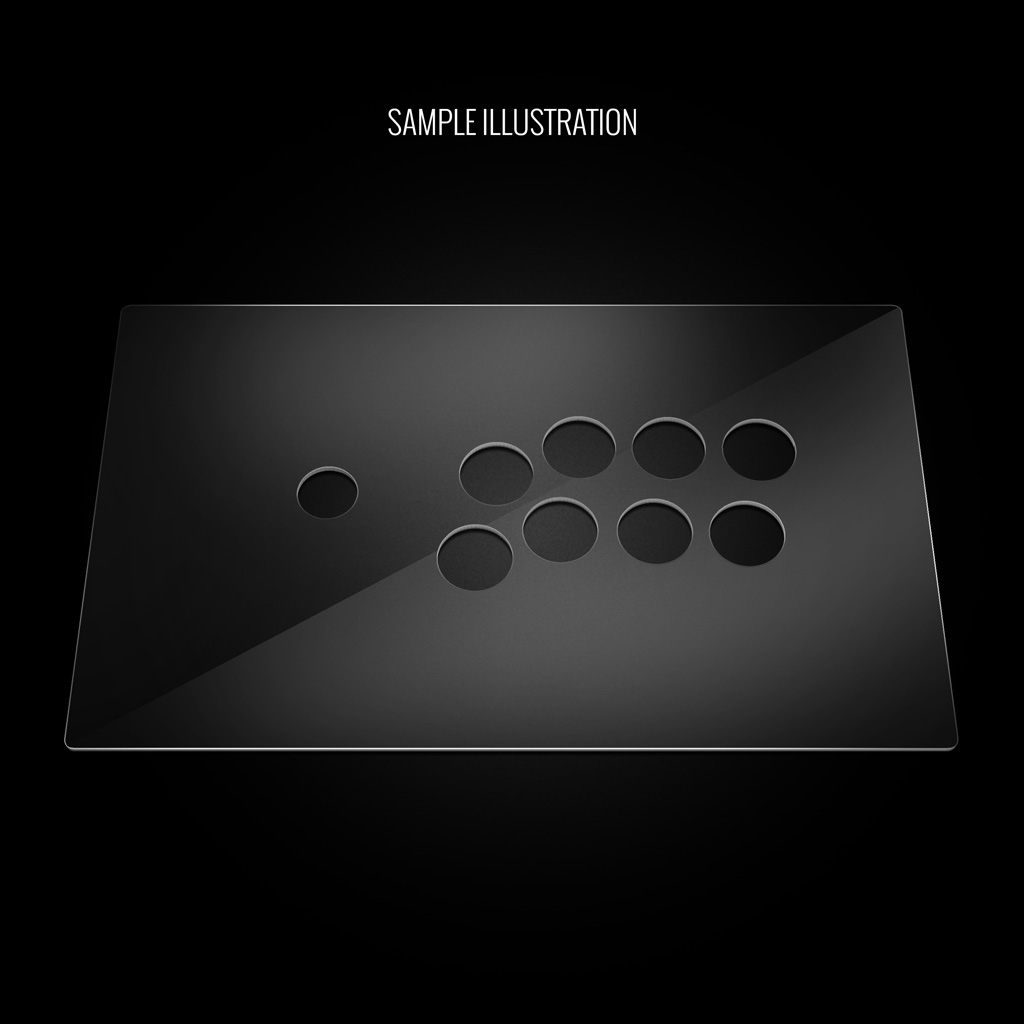
The first generation TE2 offered a slightly thicker plexi with beveled edge plexi than the newer Generation 2. Tests performed on both first and next generation hardware confirmed that a 1/16" could still work with them. We are offering a 1/16" thick acrylic as an alternative, as unlike thinner plexi, will handle etching and comes in additional colors. Most notably, the button holes are sized so that the plexi rests underneath the plexi. This approach is a more common for plexi installation. Keep in mind: if you choose this plexi, and own a more recent Type N model, you will not use the button spacers any more. The spacers were designed to raise the button 1mm from the control panel surface.
In this case, the buttons will rest atop the plexi. The Generation 1 1/16" plexi fits below the existing border.

Comments